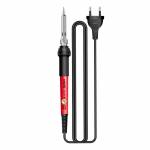
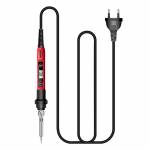
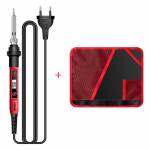
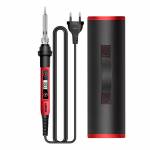
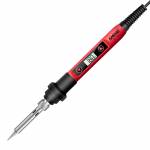
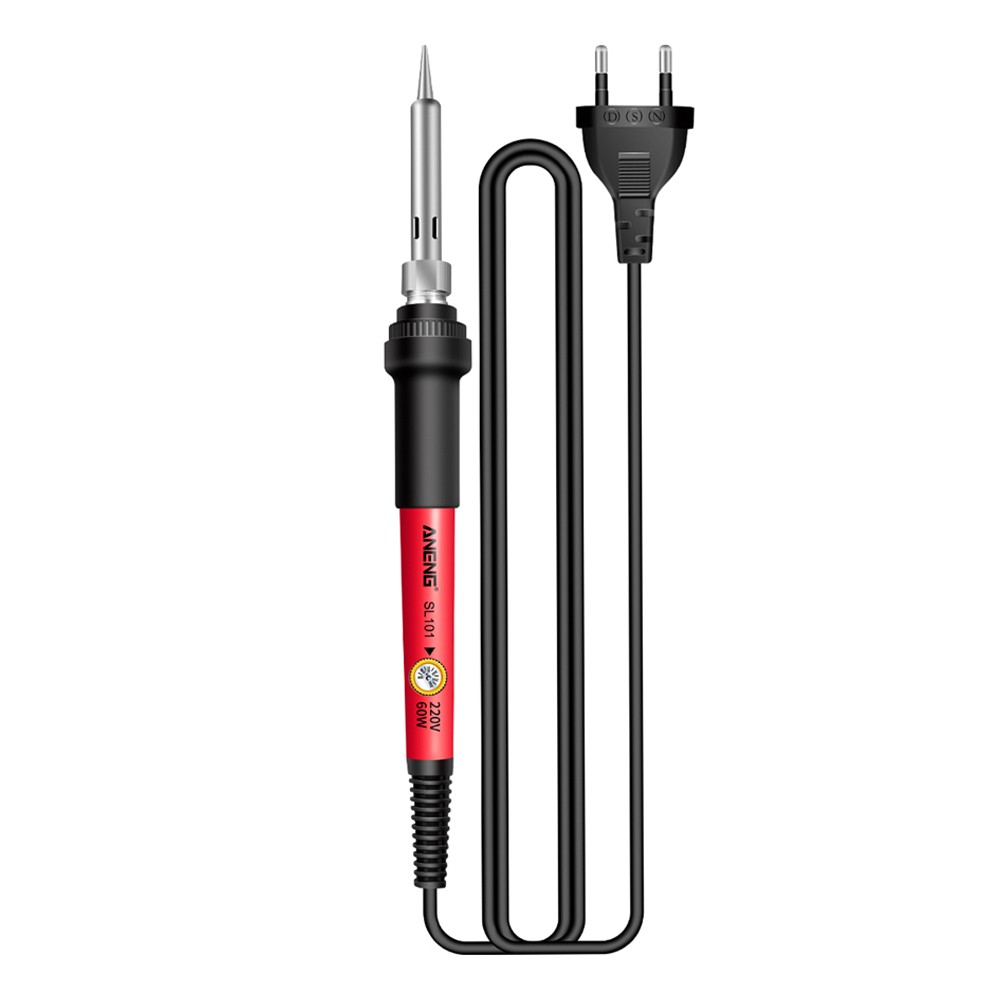
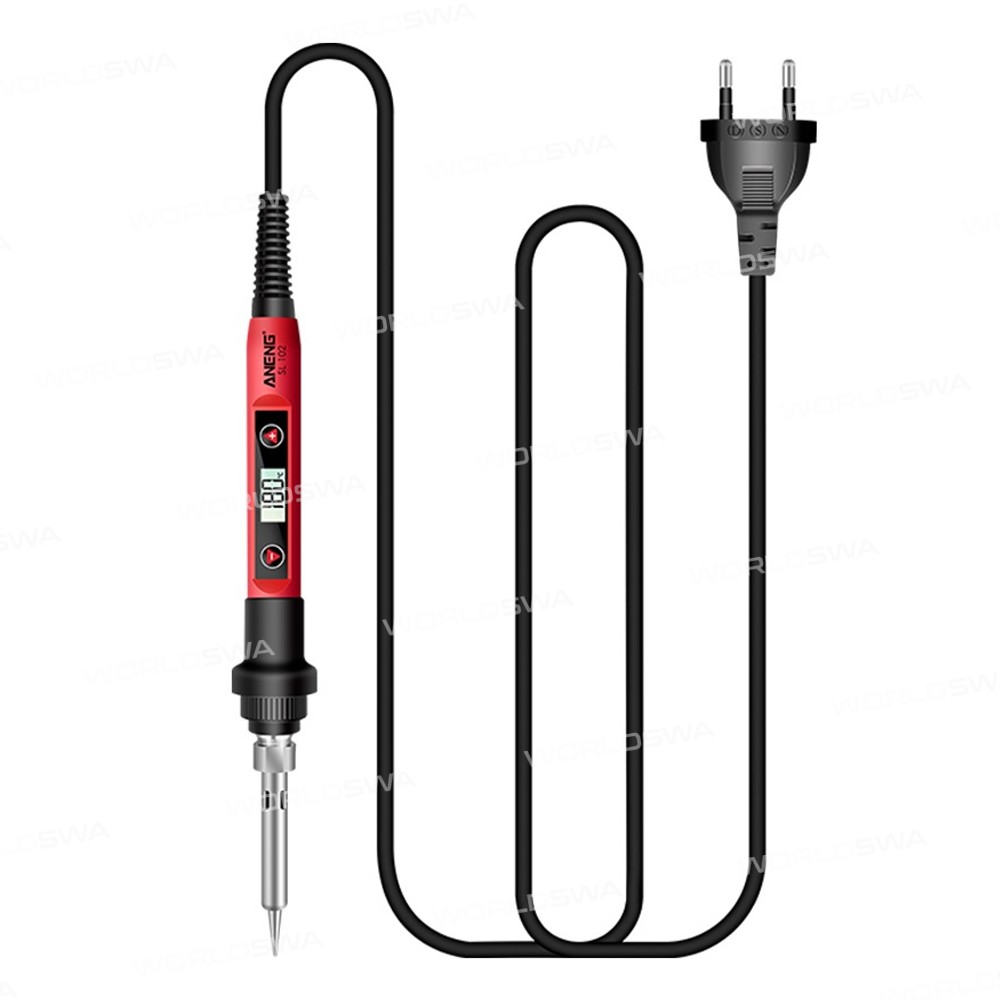
Aneng SL101 / SL102 60W Portable Electric Soldering Iron with Adjustable Temperature & Digital Display


0 out of 5 stars
No review yetReady stock
NaN
As low as NaN
Worldwide shipping
Seller: Worldswa Shenzhen
ID: MV-220613S79988
Weight: 0.50 kg
| Qty | Price | Discount |
|---|---|---|
| 1 | NaN | |
| 3 | NaN | -3.1% |
| 5 | NaN | -4.6% |
| 10 | NaN | -6.9% |
Please select Type
Choose a Type
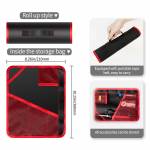
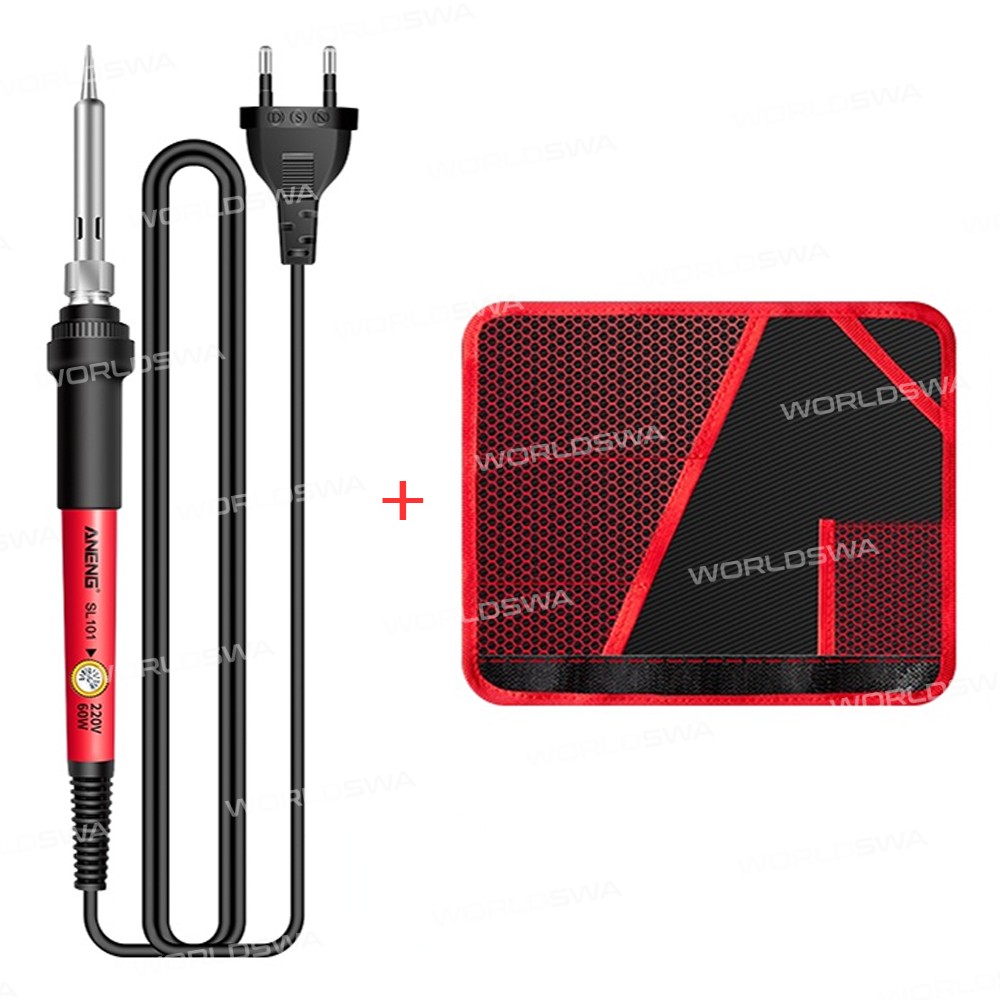
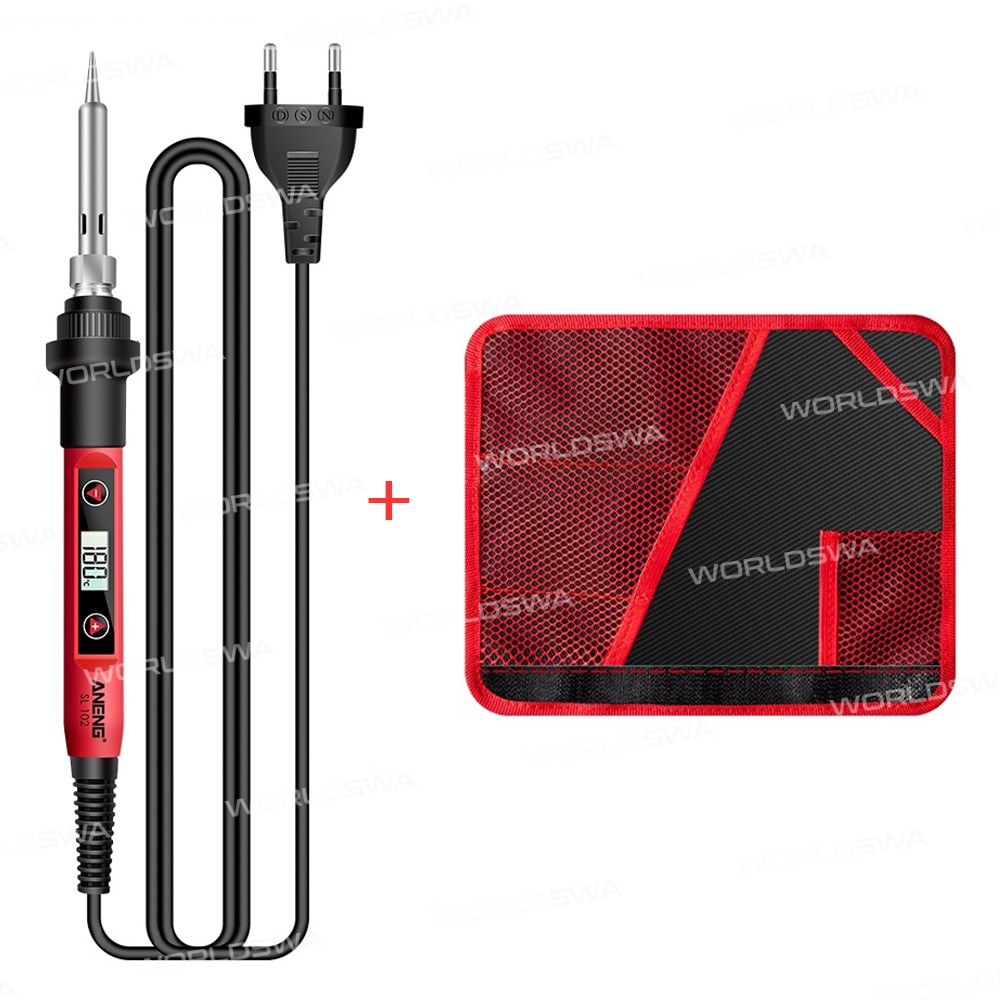
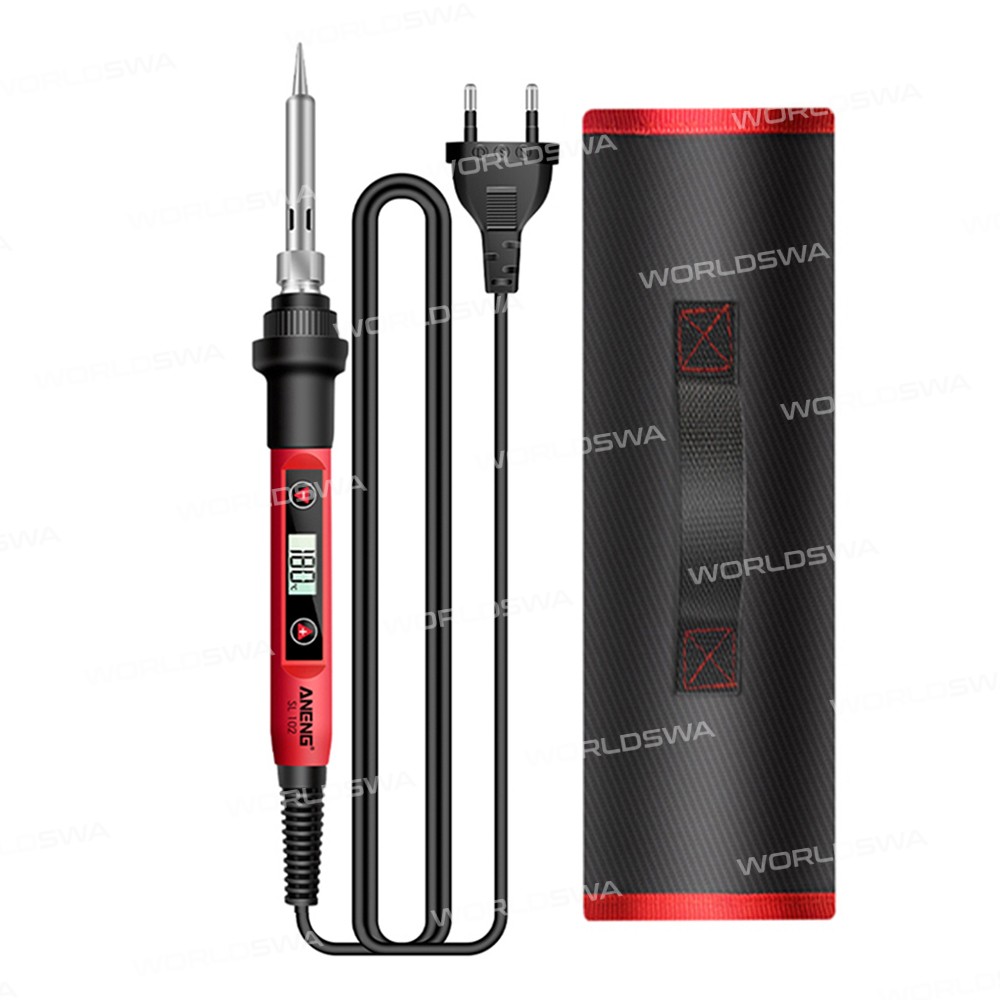
only SL101only SL102SL101 with BagSL102 with Bag
Please select Voltage
Choose a Voltage
220V
Extra adapter
Choose a Extra adapter
AUEUUKUS
Product details
Description
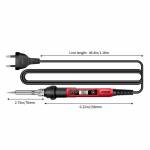
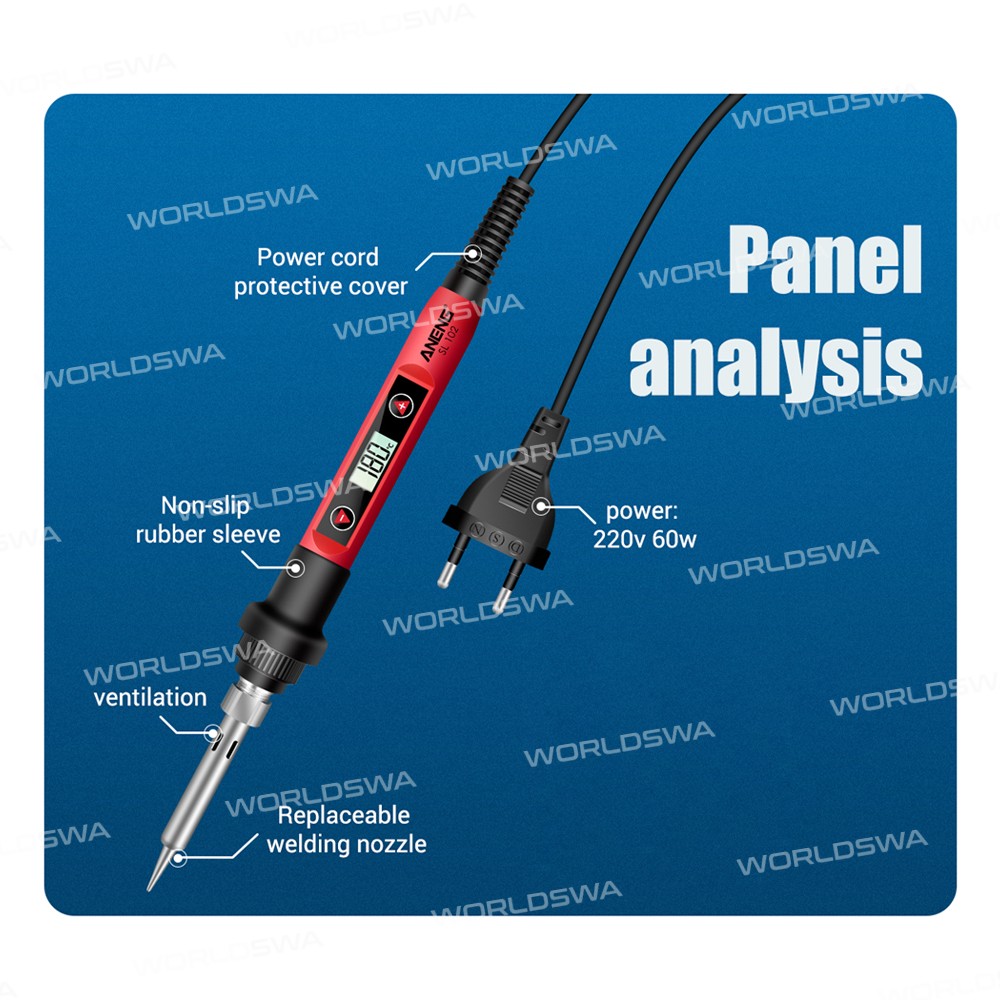
Aneng SL101/SL102 60W Portable Adjustable Temperature Digital Display Electric Soldering Iron
Features:
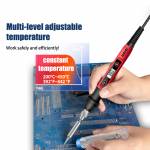
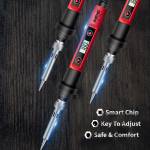
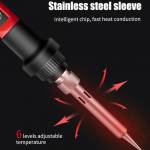
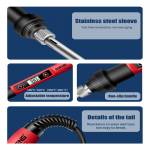
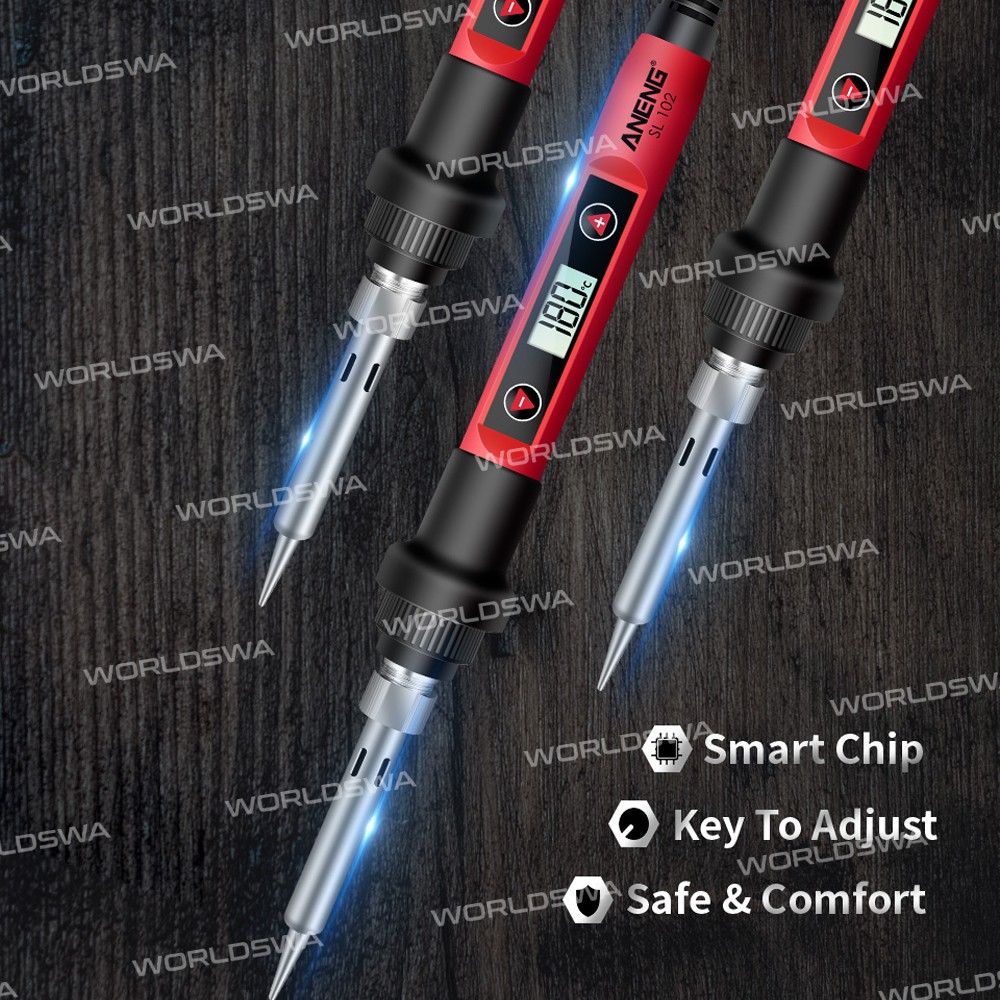
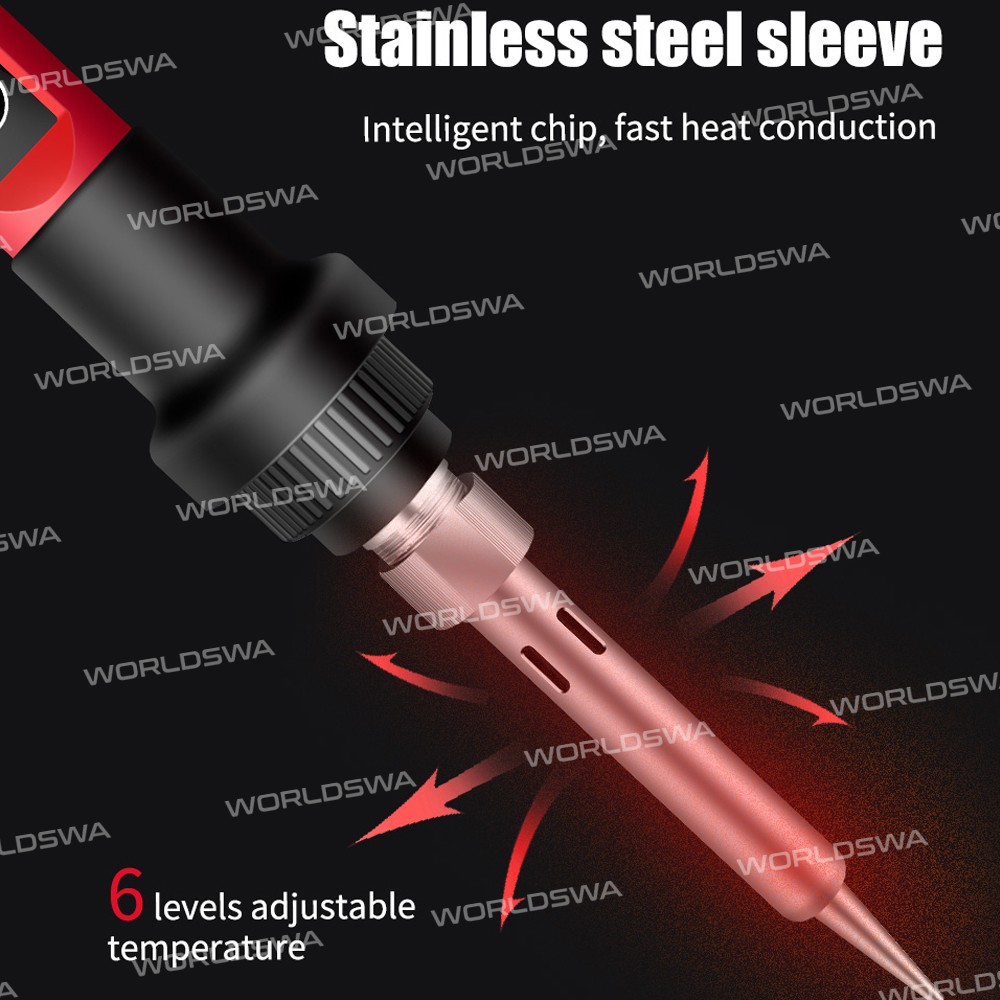
- Internal heating type, smaller volume, faster heat conduction, higher efficiency with an intelligent thermostat chip
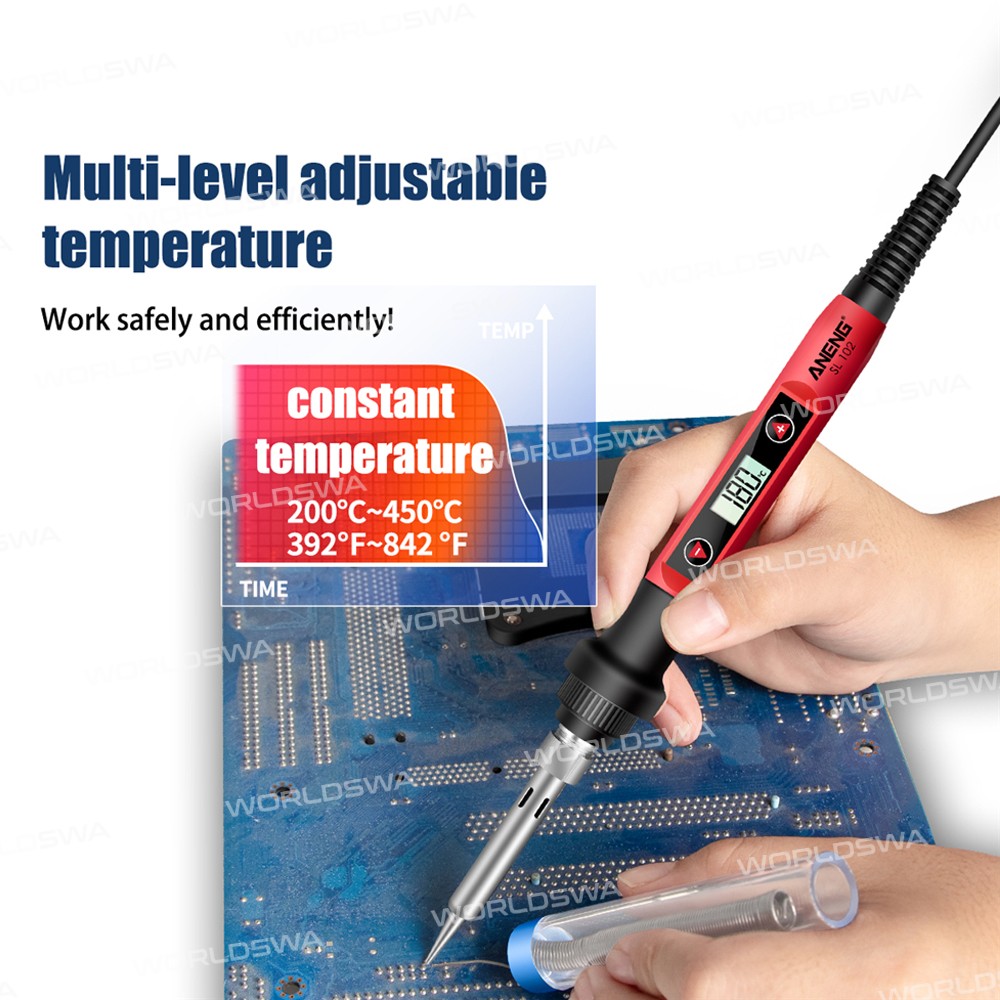
- Intelligent constant temperature control, stop heating after the electric iron reaches the specified temperature. If the temperature of the electric soldering iron drops, the chip will be thermostated to the specified temperature again after induction
- High-definition LCD backlit screen (only SL102) with blue backlight for clear data and easy temperature reading
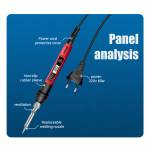
- Heat-resistant silicone material, frosted surface, non-slip and safer
- **Summary:** Intelligent thermostat chip, high-definition LCD backlit screen, and heat-resistant silicone material for efficient and safe soldering.
Specification:
- Working voltage: AC240~200V 50HZ/AC110V 60HZ
- Temperature range: SL101 is 200~450℃; SL102 is 180~520℃, the error after calibration is less than +/-5℃
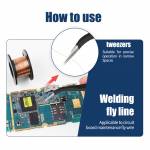
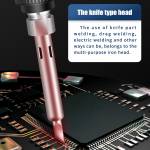
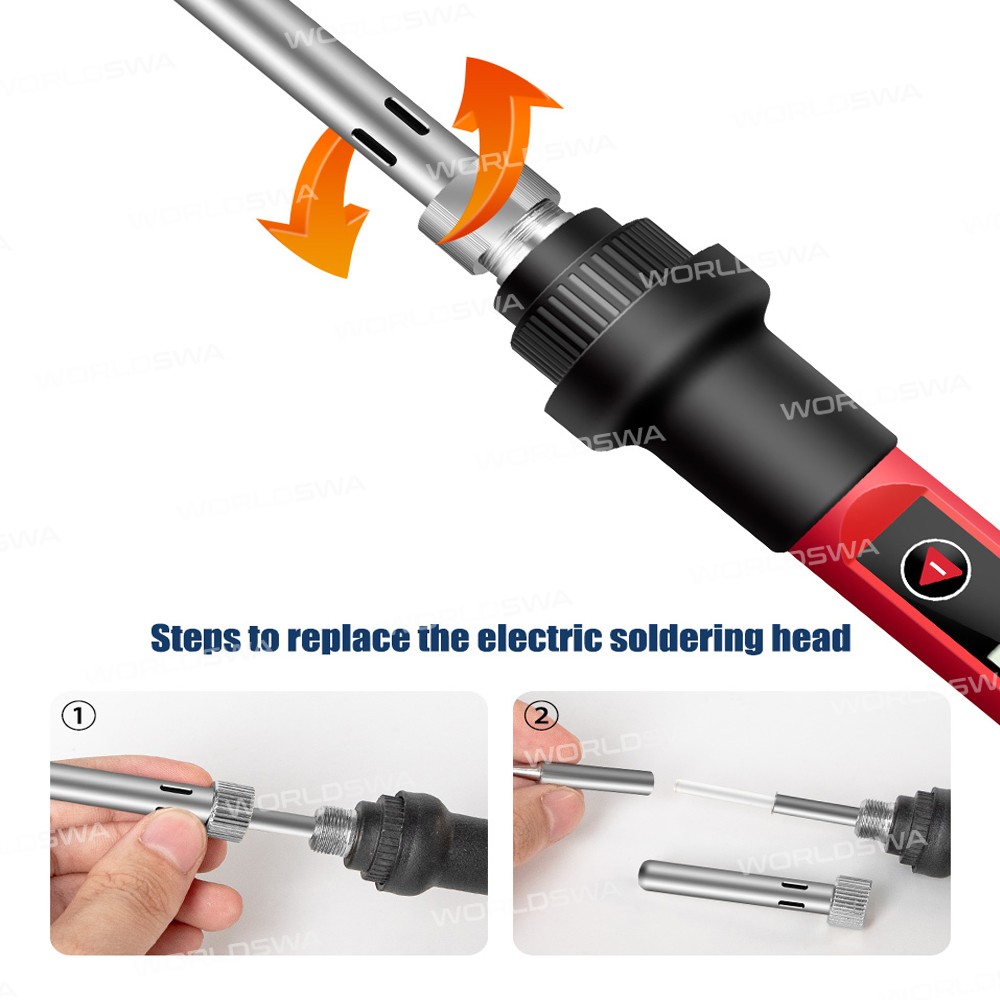
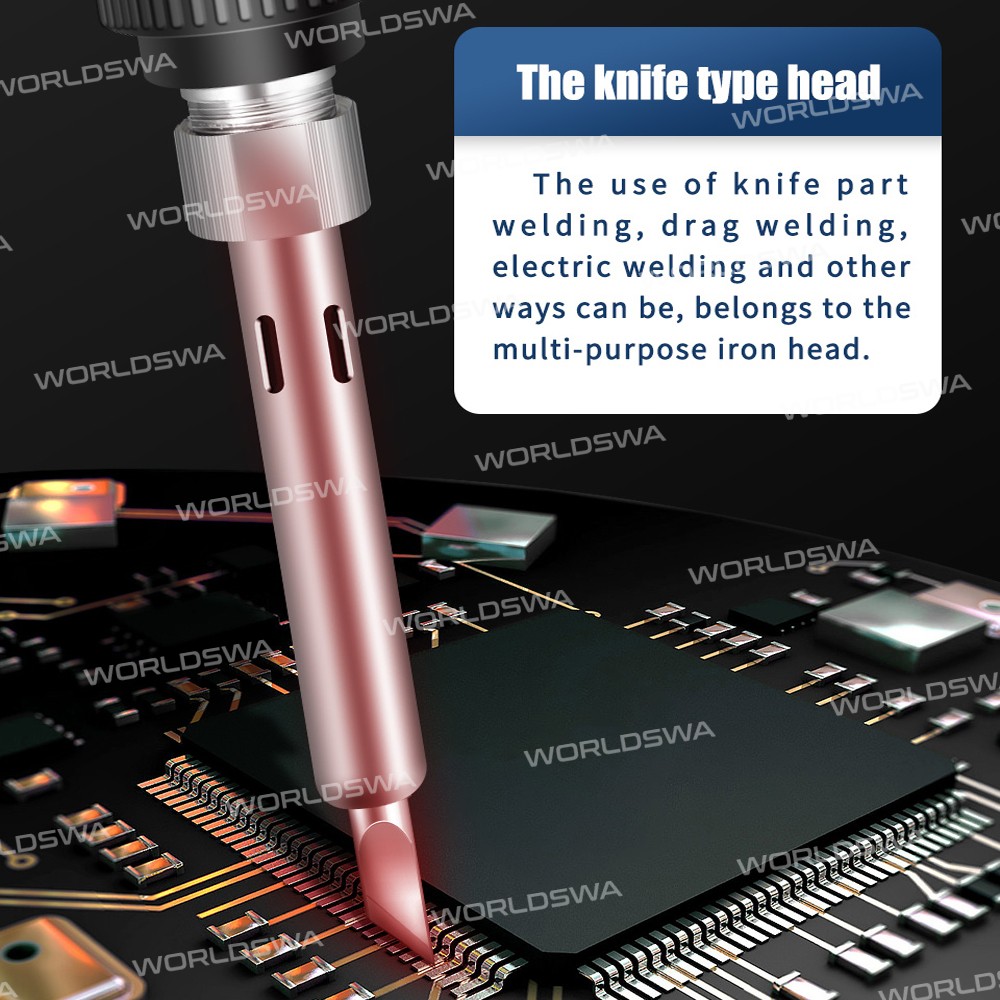
- Use 900 series soldering iron tip, plug-in heating core
- Tin time: 18~20s
- Alarm: EAO heating element is open
Set Temperature Operation:
- Press the + button once to increase the temperature, and long-press the + button to increase the temperature continuously
- Press the - button to decrease the temperature and long-press the - button to decrease the temperature continuously
- When there is no button for 3 seconds, the newly set temperature will be memorized, and the temperature will be kept at the next startup
- When the heating core reaches the set temperature, the temperature of the soldering iron tip can reach the set value after about 30~50s
Calibration Operation: (Generally choose 320-degree calibration)
- Put the soldering iron tip on the thermometer after powering on for the 90s, and add solder to the soldering iron tip to make the soldering iron tip and the thermocouple fully contact
- Wait for 2~4s after the thermometer shows that the temperature stabilizes, and record the temperature of the thermometer
- Remove the soldering iron from the thermometer and press + and -at the same time to enter the temperature calibration interface
- Input adjustment amount:
- E.g: Set the temperature to 290°C, and the actual measured temperature is 282°C, then press to display 08°C on the LCD,
- Set the temperature to 290°C, and the measured temperature is 300°C, then press to display -10°C on the LCD
- Press the + and - button at the same time to exit the temperature calibration interface
C/F Conversion (only SL102):
- Press the + and keys at the same time when the power is not turned on. Do not release them at the same time. When the power is turned on, release the two keys when you see the LCD display. Then you will enter the setting menu Press the + key to select °C/°F, and press the two keys at the same time to exit the setting. In the setting state, stop heating, and start heating after exiting
Package Includes:
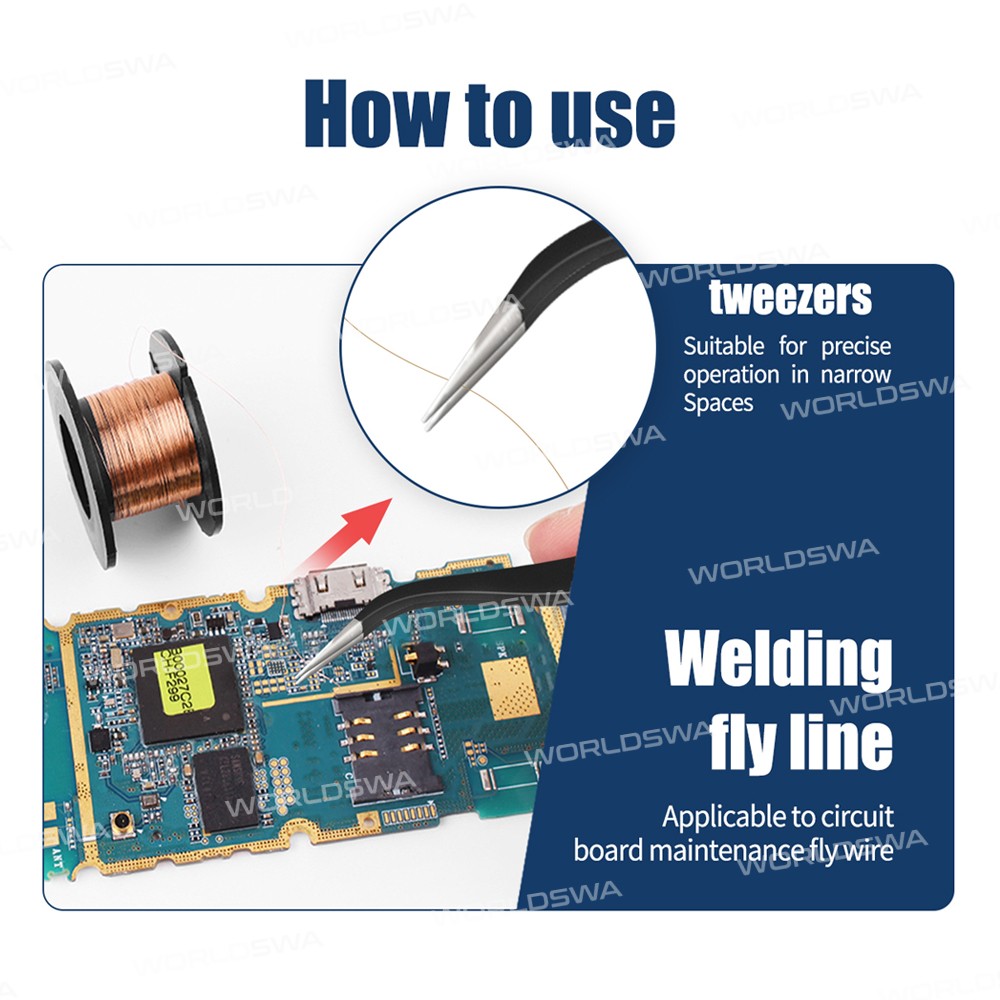
- 1 x Soldering Iron
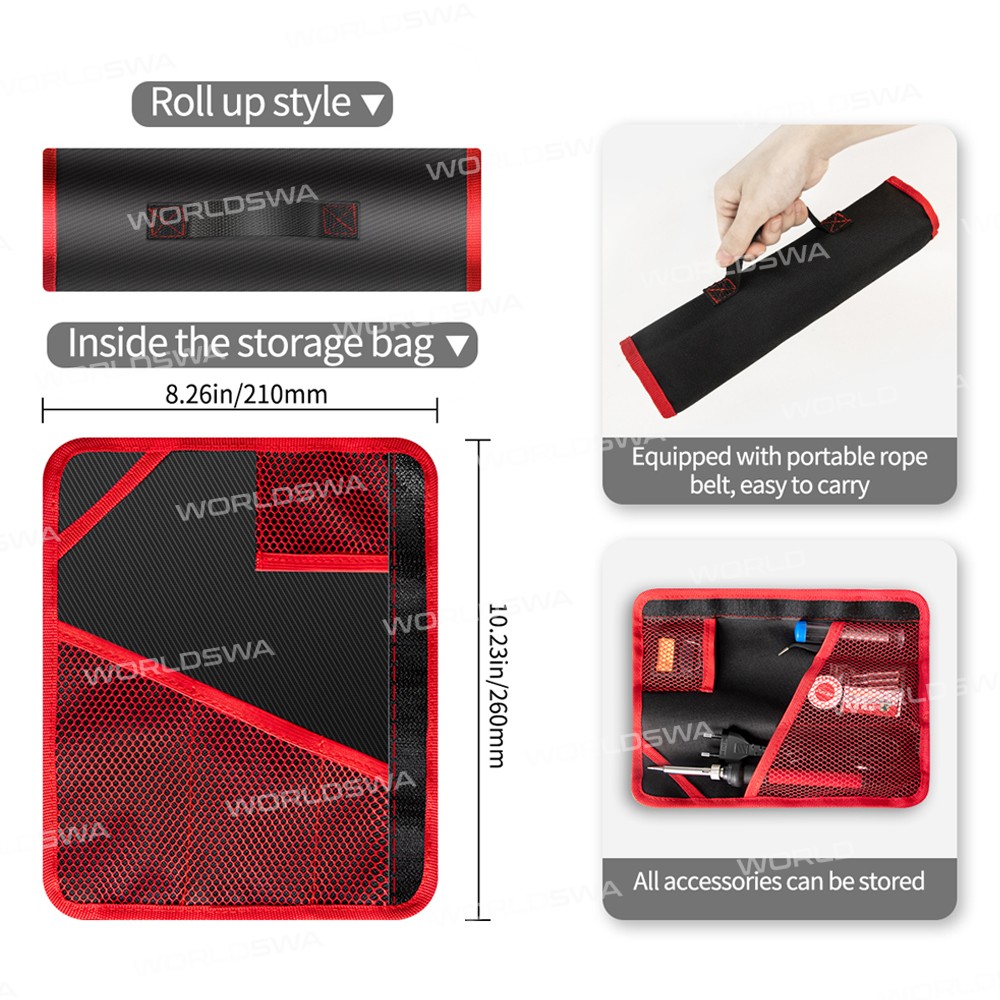
- 1 x Bag (option)


Customer reviews
0.0/ 5.0
0
0
0
0
0